Building and Customizing the Android EUDI Reference Wallet
Introduction
This blog post describes a journey of using the Reference Wallet implementation, the Android mobile application. Along the way, we will share some of the interesting challenges we encountered and how we tackled them to build a customized solution.
What is the Android Reference Wallet?
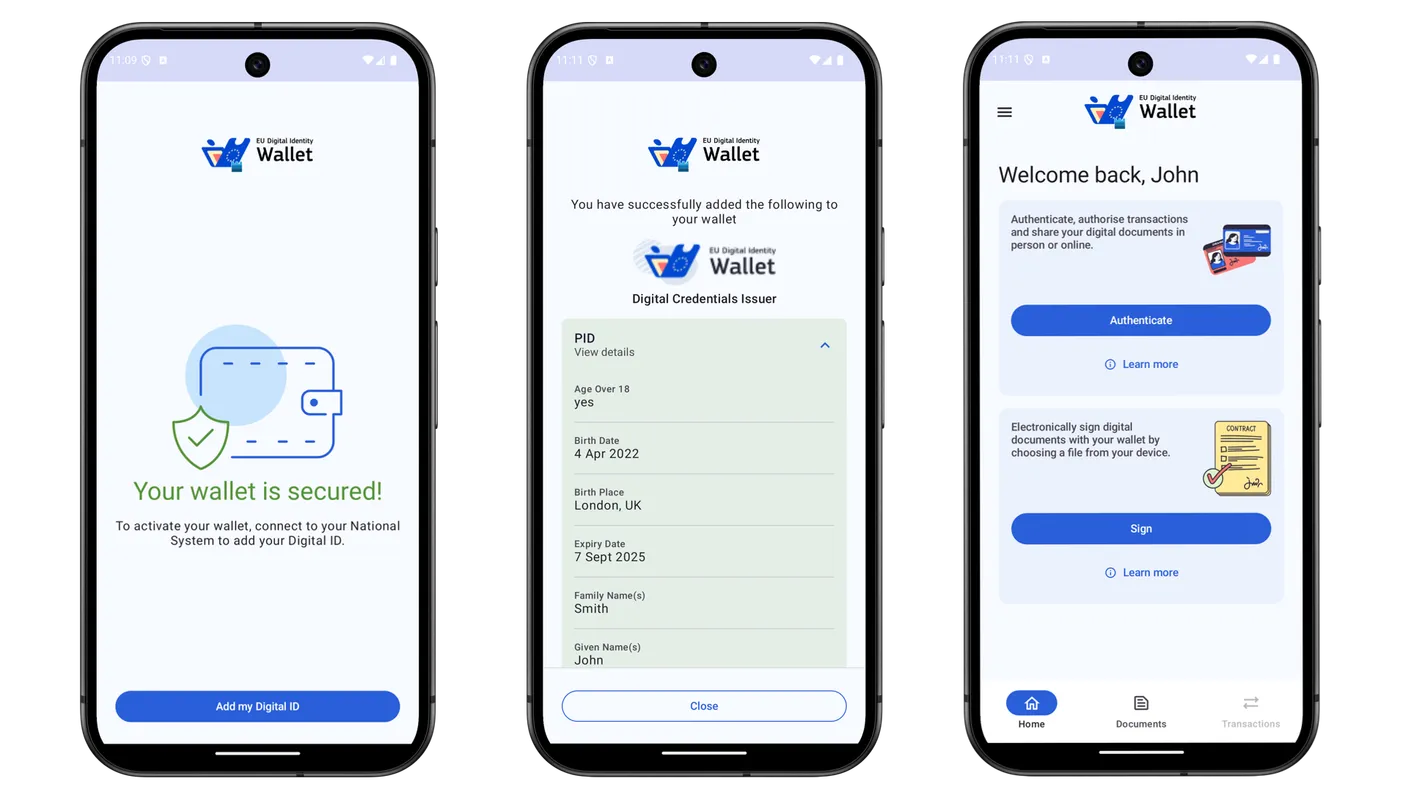
In the EUDI ecosystem, the wallet plays a central role, serving as an entity responsible for securely holding and presenting credentials. The wallet implementation faces significant pressure because it needs to seamlessly handle credential retrieval from various issuers and present credentials to multiple verifiers.
The EUDI Android Wallet Reference Application 1, serves as the official implementation and follow several specifications:
- OpenID4VCI 2 (credential issuance)
- OpenID4VP 3 (remote credential presentation)
- ISO18013-5 4 (proximity credential presentation)
- others …
This Reference Wallet is pivotal for projects developing issuers and verifiers, as it provides a reliable interoperability test. If your solution works with the Reference Wallet, it is expected to be compatible with other wallets as well. However, real-world implementation reveals challenges, including issues like compatibility with different versions of the issuers and the verifiers.
Why We Built Our Own Reference Wallet
At FortID, we’ve been using the Android Reference Wallet for testing the interoperability of our system almost since the day one. Even though we’re building our own wallet, the Reference Wallet serves as a neutral benchmark. It’s easy to demonstrate that components built by the same vendor (in this case, FortID) can work together—but the real value lies in showing that our components are compatible with the Reference Wallet. This is especially impactful in demos, where showcasing interoperability with an external, open-source reference implementation highlights the maturity and flexibility of the technology.
However, real-world development comes with real-world challenges.
One of the first issues we encountered was the pace of updates to the Reference Wallet. Its GitHub releases (tags) evolve quickly—which is great for the ecosystem, but poses a challenge for product development. Staying aligned with the latest versions means constantly adapting to new features and updates to evolving specifications, many of which may not be backward compatible.
To address this, we took a pragmatic approach: we pinned (or “baked in”) a specific version of the Reference Wallet and based our development on that stable snapshot. This gave us consistency and a clear baseline for interoperability. We chose to work with version Wallet/Demo_Version=2025.03.24-Demo_Build=24 as our stable baseline.
Another issue we faced was related to how dependencies are managed in the Reference Wallet project. When relying on the official GitHub implementation, we had limited control over the libraries used. This made it difficult to ensure compatibility and stability within our ecosystem.
To resolve this, we decided to fork the Reference Wallet project and maintain our own repository. This allows us to manage dependencies precisely, apply our custom configurations, and ensure the wallet works seamlessly with our suite of products.
How We Built Our Own Reference Wallet
Development
For development, debugging, and testing, we primarily use Android Studio. For manual testing and day-to-day development, working with a real mobile device proved to be the most practical option for our team. However, we also use emulators as part of our automated testing pipeline.
Debugging the Reference Wallet can be quite interesting—especially when dealing with a GUI application that manages concurrent tasks. We rely heavily on logs generated by the Reference Wallet. In many cases, they provide valuable insights into what’s happening under the hood. However, at times, it can be frustrating to trace the root cause of an issue, especially when the logs are incomplete or unclear.
Another interesting challenge is debugging third-party dependencies. Setting breakpoints inside external libraries and identifying the exact line of code responsible for specific behavior can be tricky. We’ve spent a lot of time improving this process to make our development and debugging more efficient.
Creating Our In-House Repository
The first step was to clone the official Reference Wallet project into our in-house repository. This allowed us to maintain full control over the code and begin customizing it according to our needs.
Rebranding
For demo purposes, we decided to publish our own version of the Reference Wallet on Google Play [5]. To ensure that users clearly understand this is not the official EUDI Reference Wallet, we performed a complete rebranding. This included updating the app’s icons, labels and styles to reflect the FortID brand identity.
Managing the Reference Issuer
Upon first launch, the Reference Wallet prompts users to obtain credentials, which are fetched from a list provided by the Reference Issuer service. This is where we encountered our next roadblock: our pinned version of the Reference Wallet was no longer compatible with the official Reference Issuer.
To resolve this, we deployed our own instance of the Reference Issuer. The only required change was updating the link that originally pointed to the official deployment, redirecting it to our hosted version instead. This gave us full control and ensured stable interoperability between our wallet and issuer.
As a result, we now maintain both a fully controlled implementation of the Reference Wallet and a self-hosted, version-stable Reference Issuer.
Configuration
Two key configurations are required to make everything work:
Linking to Our Reference Issuer The only change needed in the Reference Wallet code to connect it with our instance of the Reference Issuer is updating the
VCI_ISSUER_URLvariable. This is located in:core-logic/src/demo/java/eu/europa/ec/corelogic/config/ConfigWalletCoreImpl.ktTrust Establishment with the Verifier In order to verify credentials, a trust relationship must be established between the wallet and the verifier. While there are several supported methods, only one is suitable for our technology stack:
pre-registered. We also reported issues with theredirect urimethod [6], which further reinforced our decision.Here’s how the
pre-registeredverifier is configured incore-logic/src/demo/java/eu/europa/ec/corelogic/config/ConfigWalletCoreImpl.ktfile:withClientIdSchemes( listOf(ClientIdScheme.Preregistered( listOf( PreregisteredVerifier( clientId = OPENID4VP_VERIFIER_CLIENT_ID, verifierApi = OPENID4VP_VERIFIER_API_URI, legalName = OPENID4VP_VERIFIER_LEGAL_NAME ) ) )), )
Additional configurations for testing purposes will be discussed in the next chapter.
Using the Reference Wallet in a Test Environment
Managing the Test Environment
In general, we operate with two main environments for our application: production and test. While production gets as much of the spotlight as it should, we have also invested significant effort into building a robust and efficient test environment.
The test environment is critical, especially when evaluating new features. It needs to be fast, reliable, and easy to use for both developers and QA. One of the biggest challenges we encountered was configuring the Reference Wallet to work with TLS certificates generated specifically for development.
Initially, we struggled with this setup. The documentation was outdated, and the available guidelines simply didn’t work as expected. We even referenced the issue in a comment, here: 7. To overcome this, we took a different approach.
Instead of relying on the official documentation, we manually adjusted the network configuration and loaded our self-signed Certificate Authority (CA) certificates into the application. This allowed the Reference Wallet to accept TLS certificates generated for internal development purposes, enabling smoother testing workflows without compromising functionality.
This process has following steps:
Generating and Using a CA Certificate for Development
To support secure communication during development, we generate our own Certificate Authority (CA) and use it to sign development TLS certificates.
Step 1: Generate a CA Certificate with openssl
# Generate a private key
openssl genrsa -out ca.key 4096

# Generate the CA certificate
openssl req -x509 -new -nodes \
            -key ca.key \
            -sha256 \
            -days 3650 \
            -out  ca.crt \
            -subj "/C=HR/ST=Zagreb/L=Zagreb/O=TBTL/OU=FortID/CN=FortID Dev CA"
This creates a private key (ca.key) and a self-signed CA certificate (ca.crt) valid for 10 years. You can now use this CA certificate to sign TLS certificates for your development environment.
Installing the CA Certificate on an Android Device
To ensure your Android device trusts the generated CA certificate during testing, follow these steps:
1. Transfer the CA Certificate
- Copy
ca.crtto your Android device (e.g., via USB, email, …).
2. Import the Certificate into Android
- Open Settings.
- Navigate to Security & privacy > Encryption & credentials (you may need to scroll to see additional options).
- Tap Install a certificate.
- Choose CA certificate.
- Locate and select
ca.crtfrom your device.
3. Verify the Installation
- In Settings, go to: Security & privacy > Encryption & credentials > Trusted credentials > User.
- You should see the FortID Dev CA certificate listed.
Updating the Reference Wallet Configuration
Once your device trusts the development CA, you need to instruct the application to also trust user-added CA certificates. This is done by updating the network_security_config.xml file in your app:
<network-security-config>
    <base-config>
        <trust-anchors>
            <!-- Trust system CAs -->
            <certificates src="system" />
            <!-- Trust user-added CAs -->
            <certificates src="user" />
        </trust-anchors>
    </base-config>
</network-security-config>
With this configuration, the Reference Wallet will accept TLS certificates signed by your development CA, allowing secure communication in a local or test environment.
What About the iOS Reference Wallet?
We also considered the iOS Reference Wallet, but chose to start with Android due to several key factors:
Limited Interoperability with iOS Reference Wallet
- The iOS wallet is not yet fully compatible with our Verifier Service.
- It does not support unsigned Authorization Requests.
Simplified App Deployment on Android
- For demonstration purposes, it’s much easier to compile and install an APK directly on Android devices without needing App Store distribution.
Double Effort for Cross-Platform Support
- Resolving interoperability issues would require separate implementations for Android and iOS, as they do not share the same codebase.
We plan to support iOS in the future, given its popularity and widespread use. However, for now, only the Android version is available.
Conclusion
In this blog post, we covered a range of topics, from the role of the Reference Wallet in the EUDI ecosystem, to forking and rebranding it, configuring trusted environments, and overcoming real-world interoperability challenges.
Our goal was to provide a single, practical guide with all the key information needed to get a working instance of the Reference Wallet up and running. As you’ve seen, our journey involved a fair amount of debugging, reverse engineering, and hands-on experimentation to align everything with our specific requirements.
We hope this post helps other developers navigate similar challenges more efficiently and encourages exploration and contribution within the EUDI wallet ecosystem.
For more detailed information, please refer to our documentation [8].